SV
SV


Google Pixel fingerprint not working after screen replacement: what to do?
12-03-2024 • Lästid: 2 min
A common problem that occurs with Google Pixel smartphones is the failure of the fingerprint scanner after replacing the screen. In this blog, we share effective solutions to address this problem so that your customer can continue to use their phone effortlessly.
Start by Checking the Flex Cable
Make sure the fingerprint scanner flex cable is correctly connected to the motherboard and that it is not damaged. This is important to check because it could be causing the problem. If this is not the case, you have an idea where the possible problem could lie. If the cable does connect properly to the motherboard, it is likely that the fingerprint scanner needs to be recalibrated. Below are the steps to do this:
The Step-by-Step Calibration of the Fingerprint Scanner:
(Note: These steps only apply to the Google Pixel 6 and newer models.)
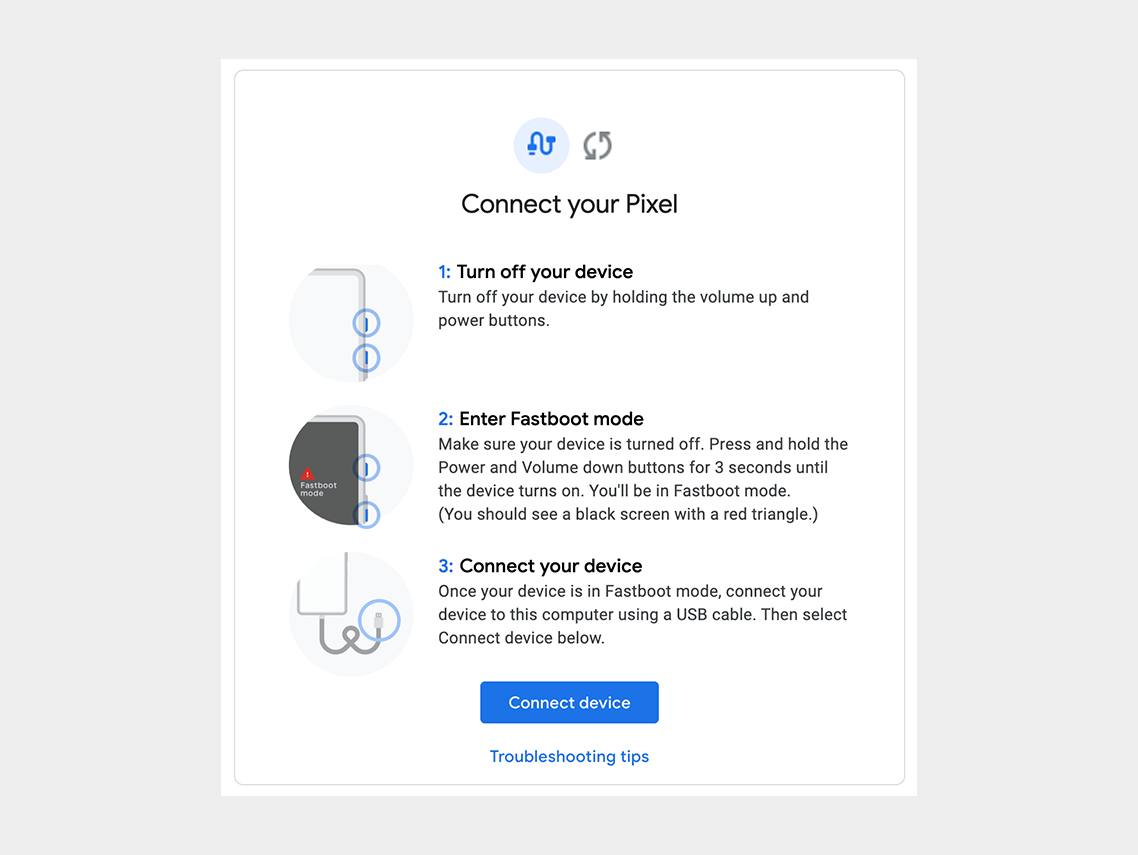
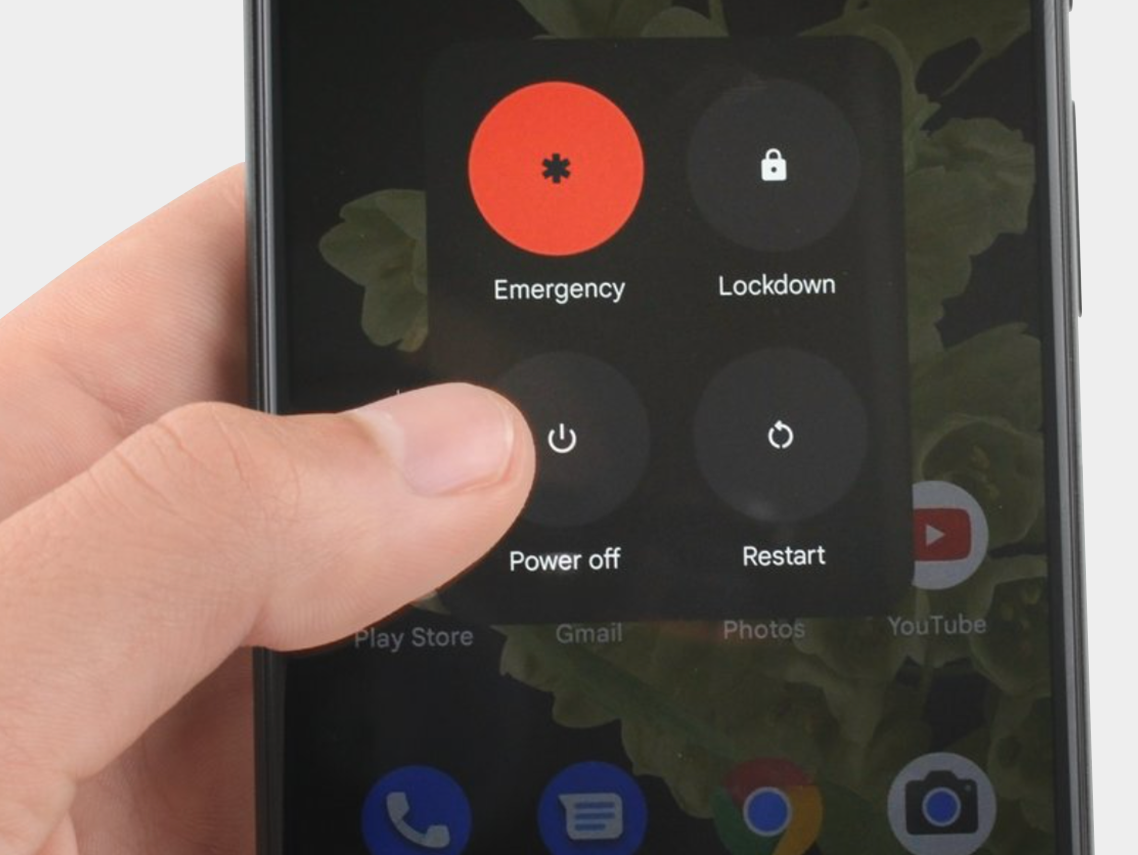
Step 1: Turn off the cell phone.
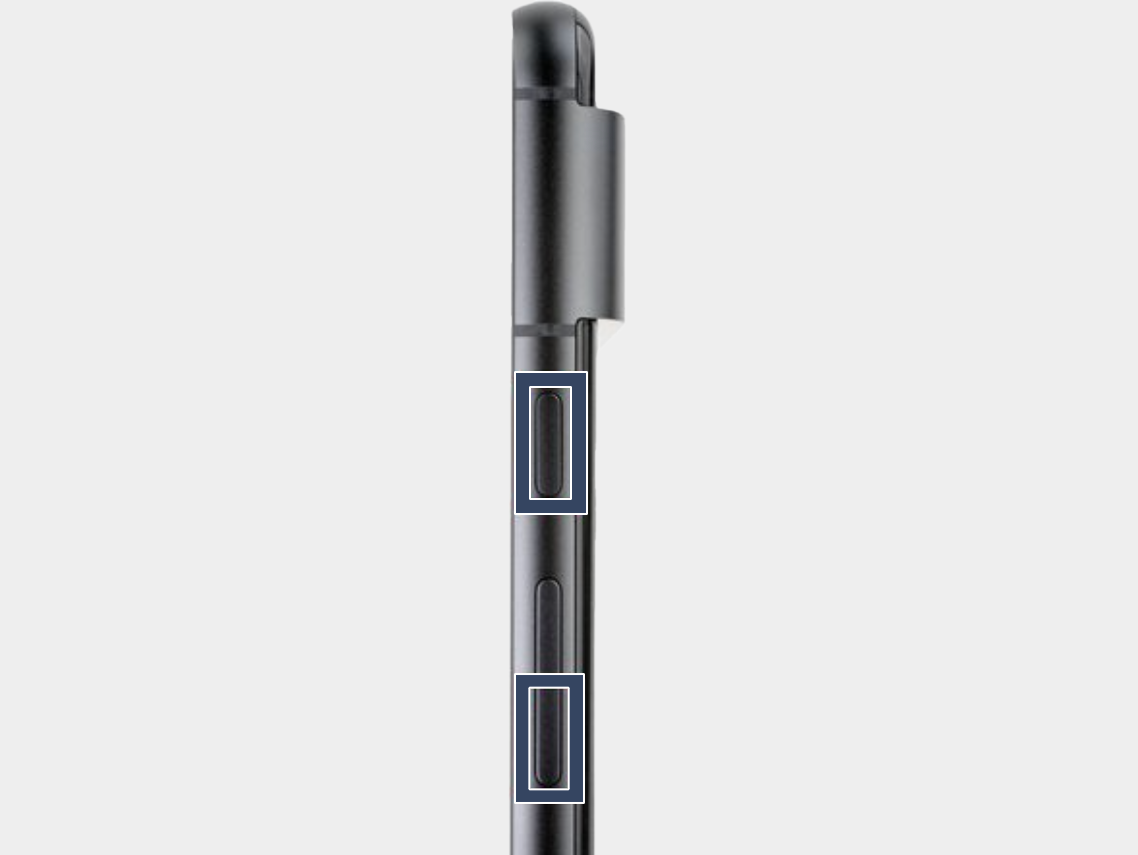
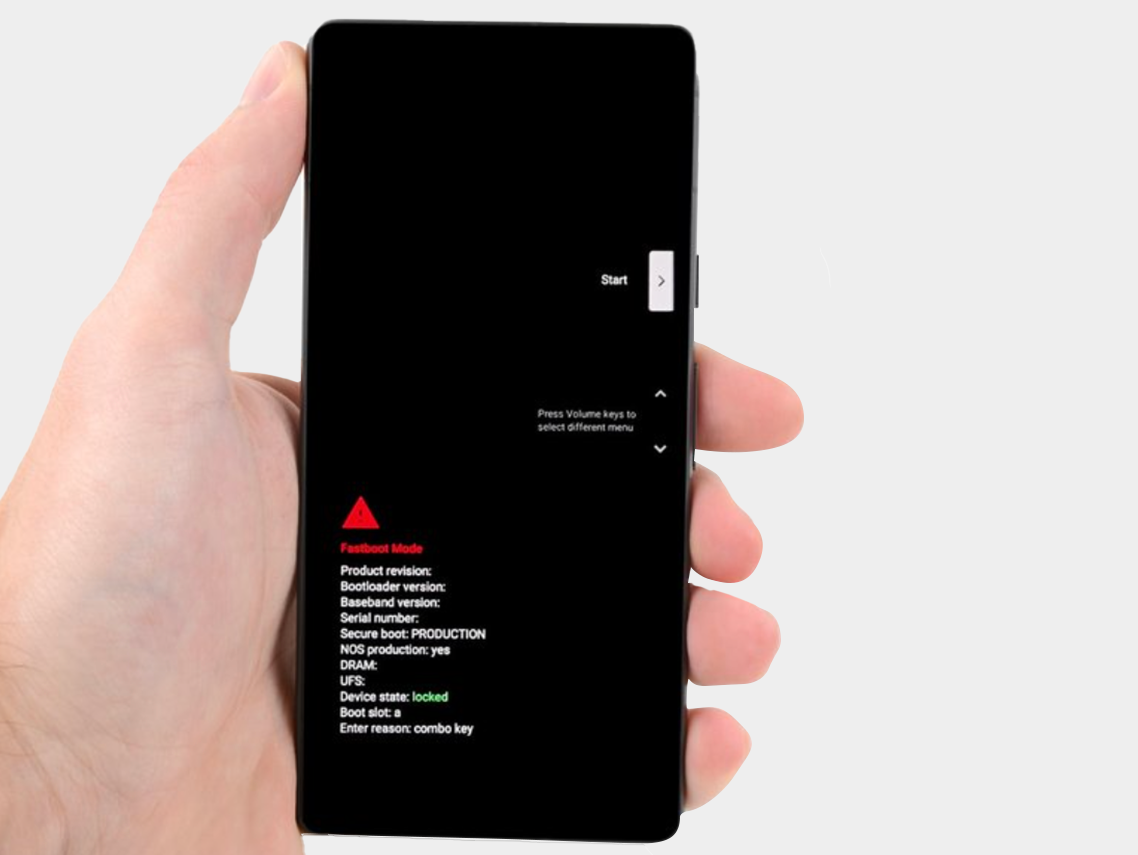
Step 2: Press the power button and volume down button for three seconds to enter the quick boot mode.
Step 3: Connect the phone to the computer.
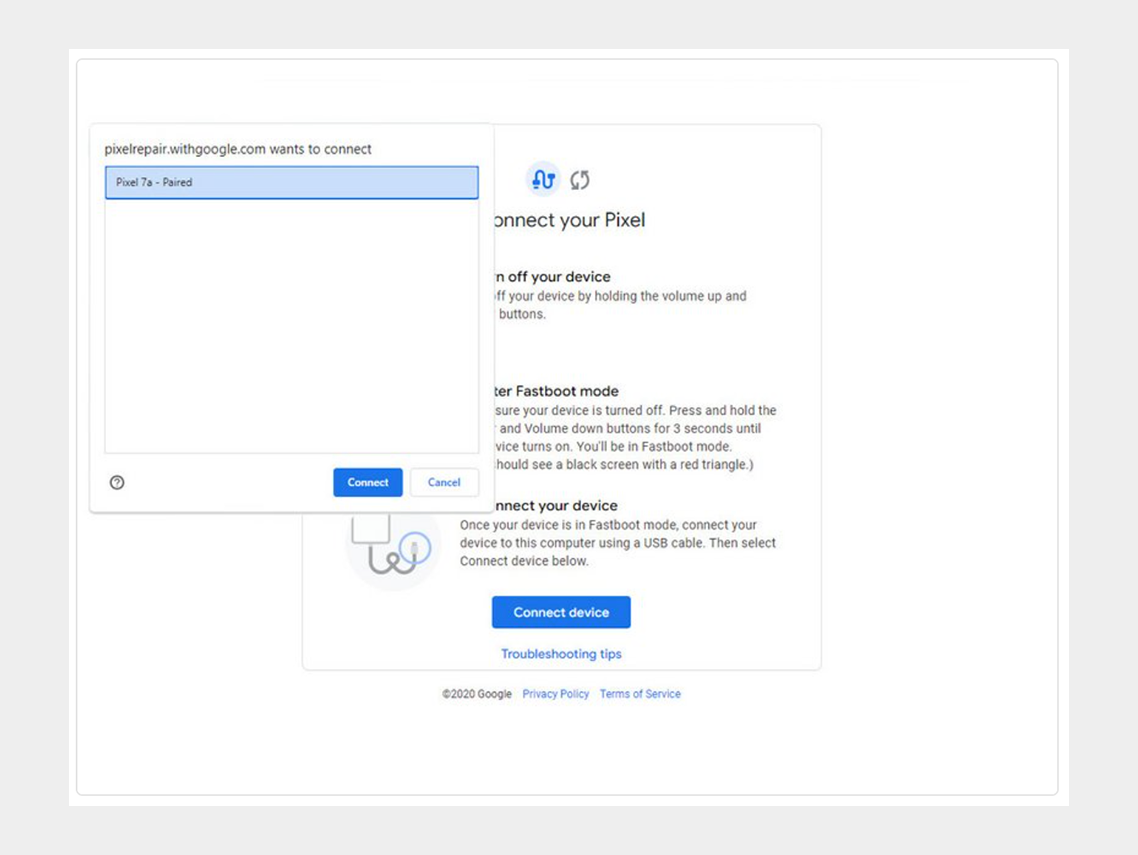
Step 4: Go to the calibration software and click on "Connect Device". Select the appropriate device.
If the device is not recognized, check the following:
- Make sure Chrome has access to use USB devices. Go to Settings > Privacy and security > Site settings > Permissions > Additional permissions > USB devices.
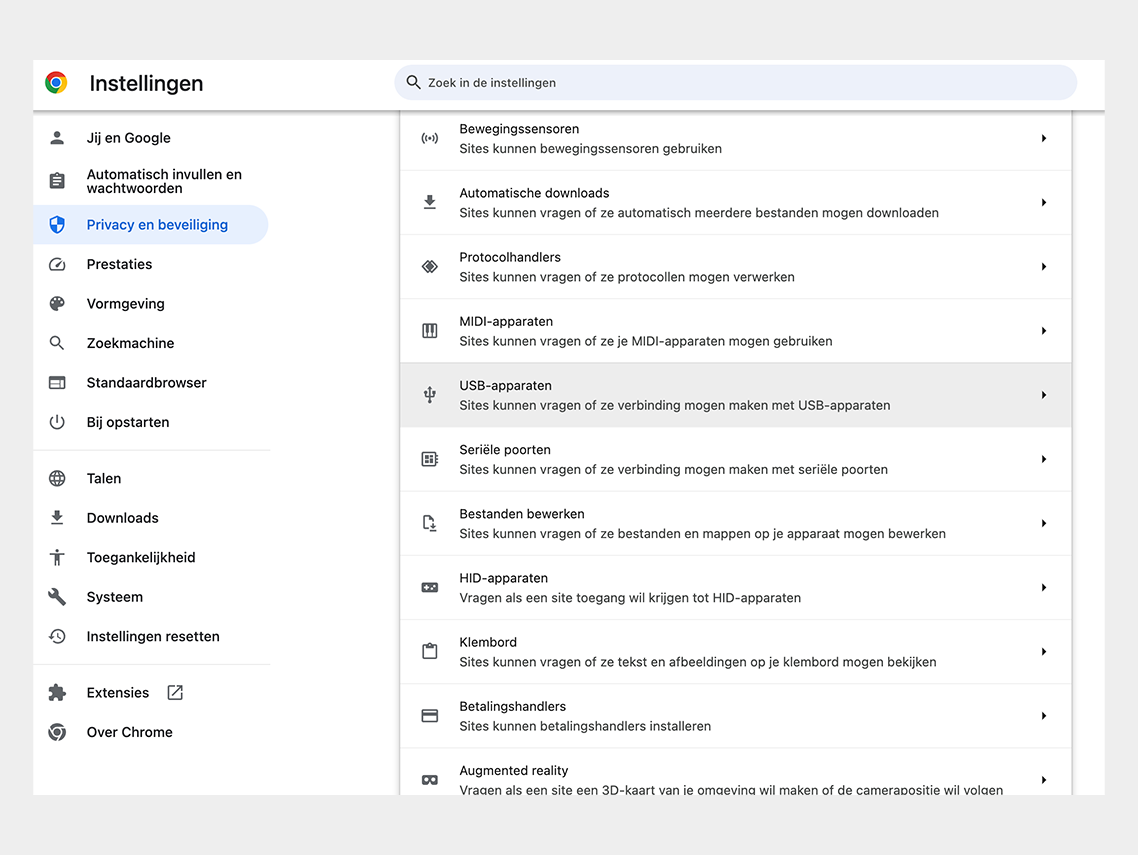
Google Chrome permission
- Disconnect and reconnect the USB cable. Then try to connect again.
- Try a different USB cable.
- For Windows users: Make sure you have downloaded and installed the Google USB driver. Here is the link for the driver. Follow the steps below:
- 1. Connect the Android device to your computer's USB port.
- 2. Open Computer Manager from Windows Explorer.
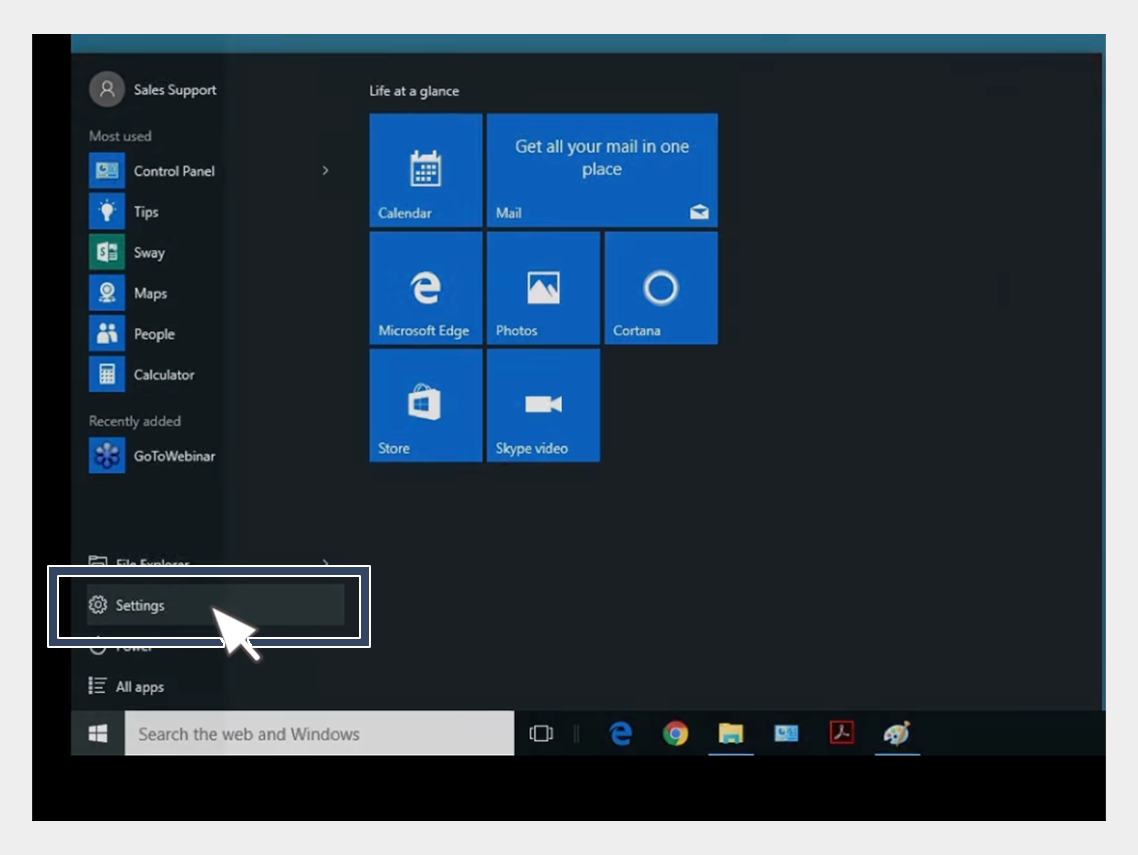
USB-driver installation
3. In the left pane of Computer Management, select Device Manager.
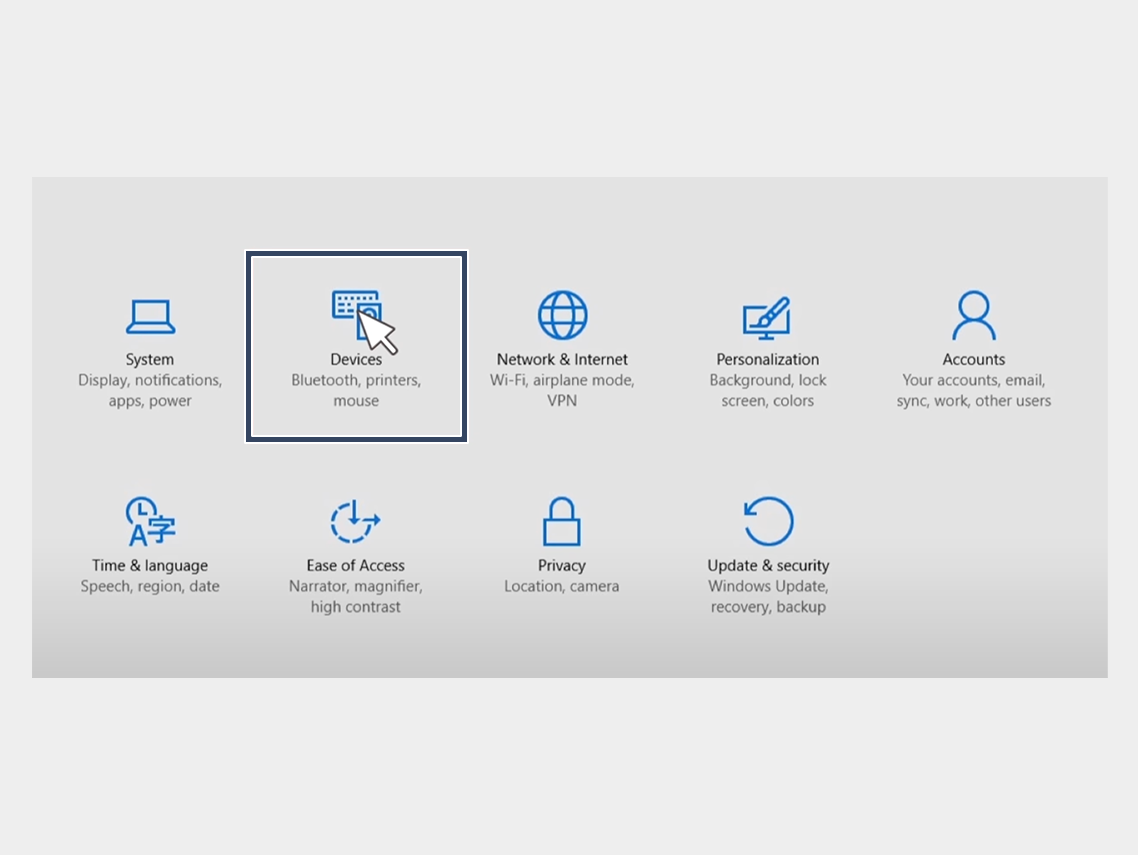
USB-driver installation
4. In the right pane of Device Manager, find and expand Portable Devices or Other Devices, depending on what you see.
5. Right-click on the name of the device you connected, then select Update Driver.

USB-driver installation
6. In the Hardware Update Wizard, choose Browse for driver software on my computer and click Next.
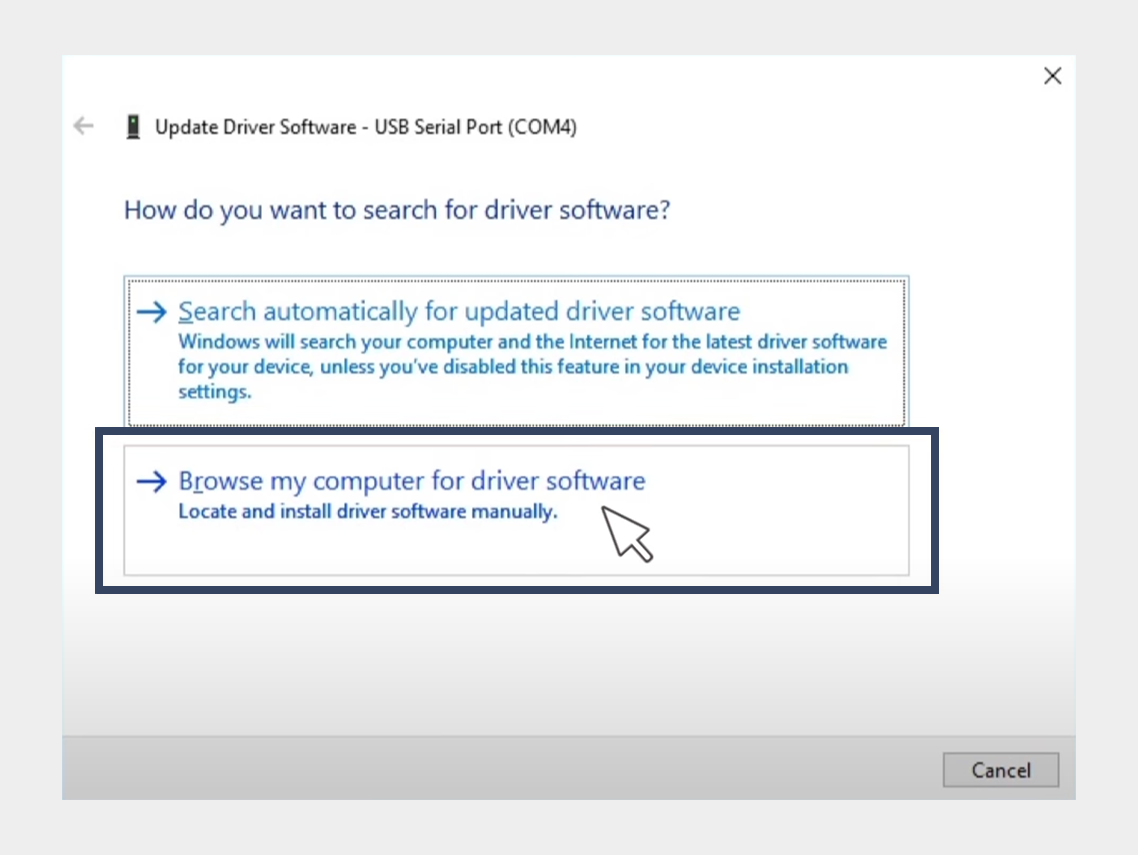
USB-driver installation
7. Click Browse, then locate the folder containing the USB driver. For example, the Google USB driver is located in android_sdk driver.
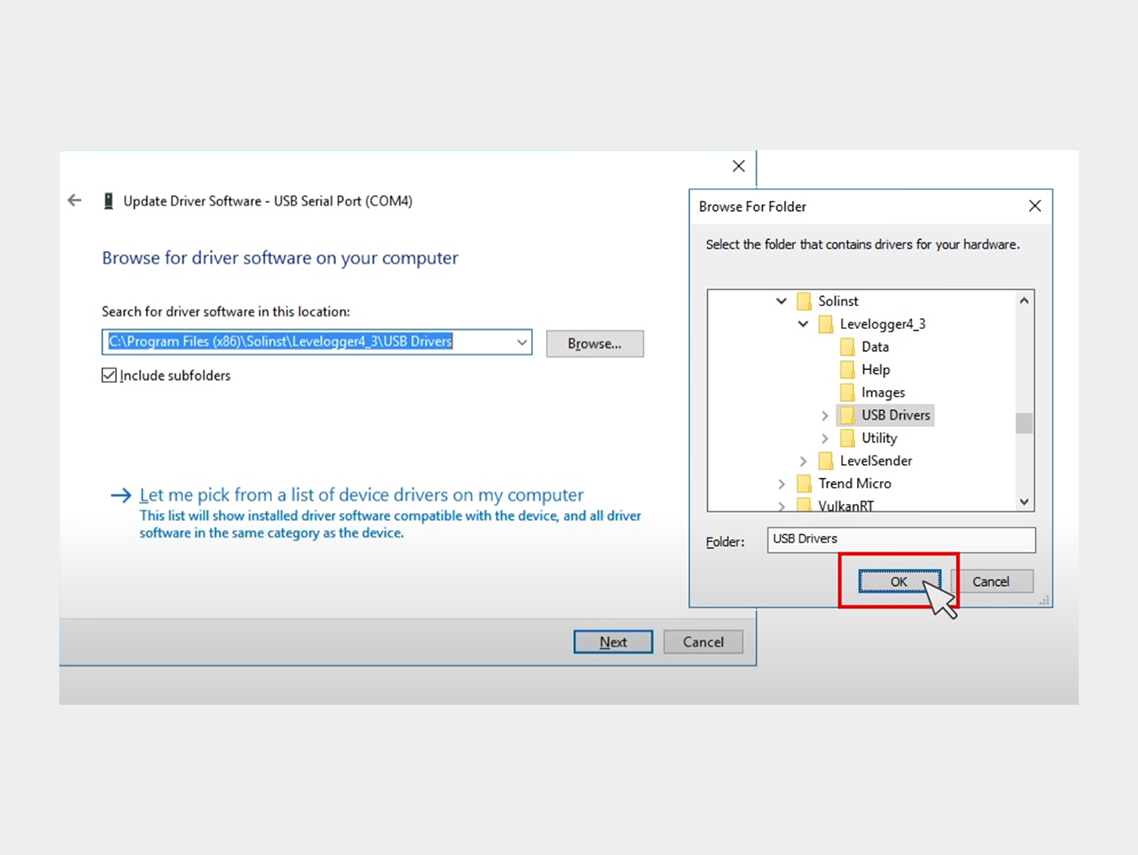
USB-driver installation
8. Click Next to install the driver.
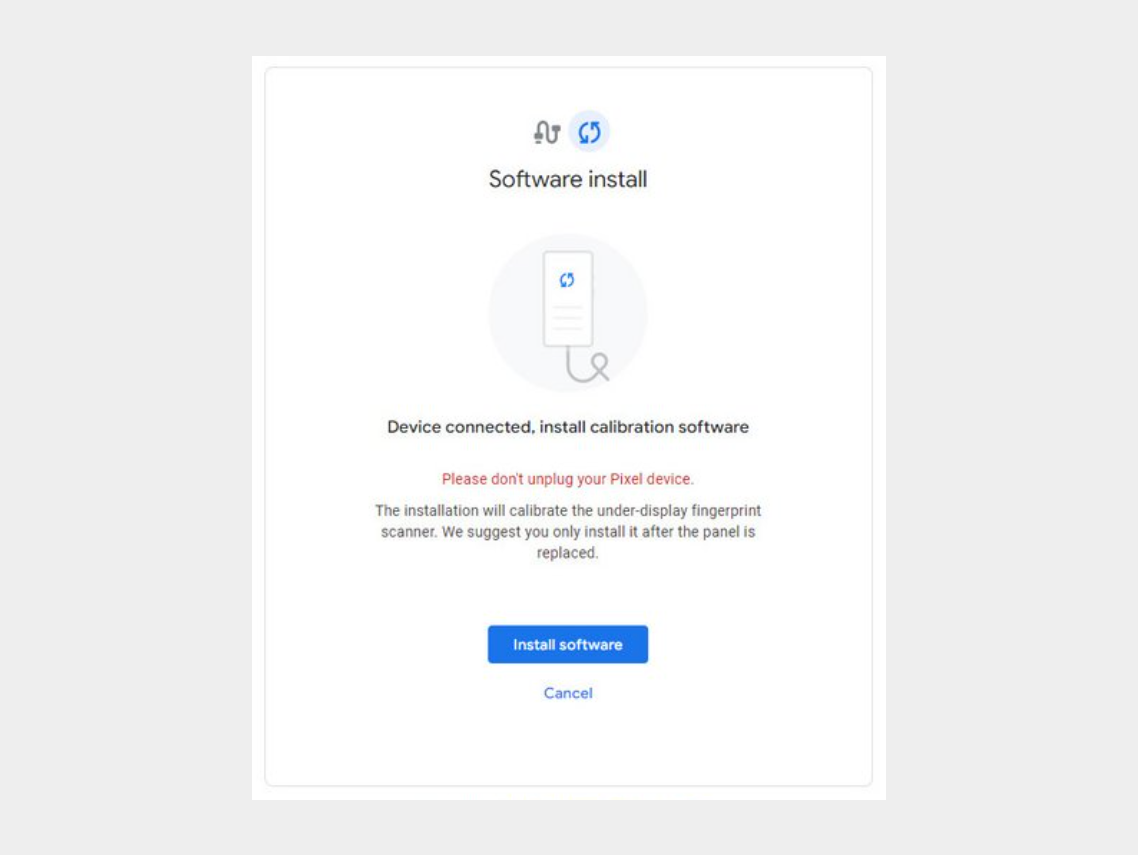
Step 5: Click on "Install Software."
Step 6: Wait for the software to download.
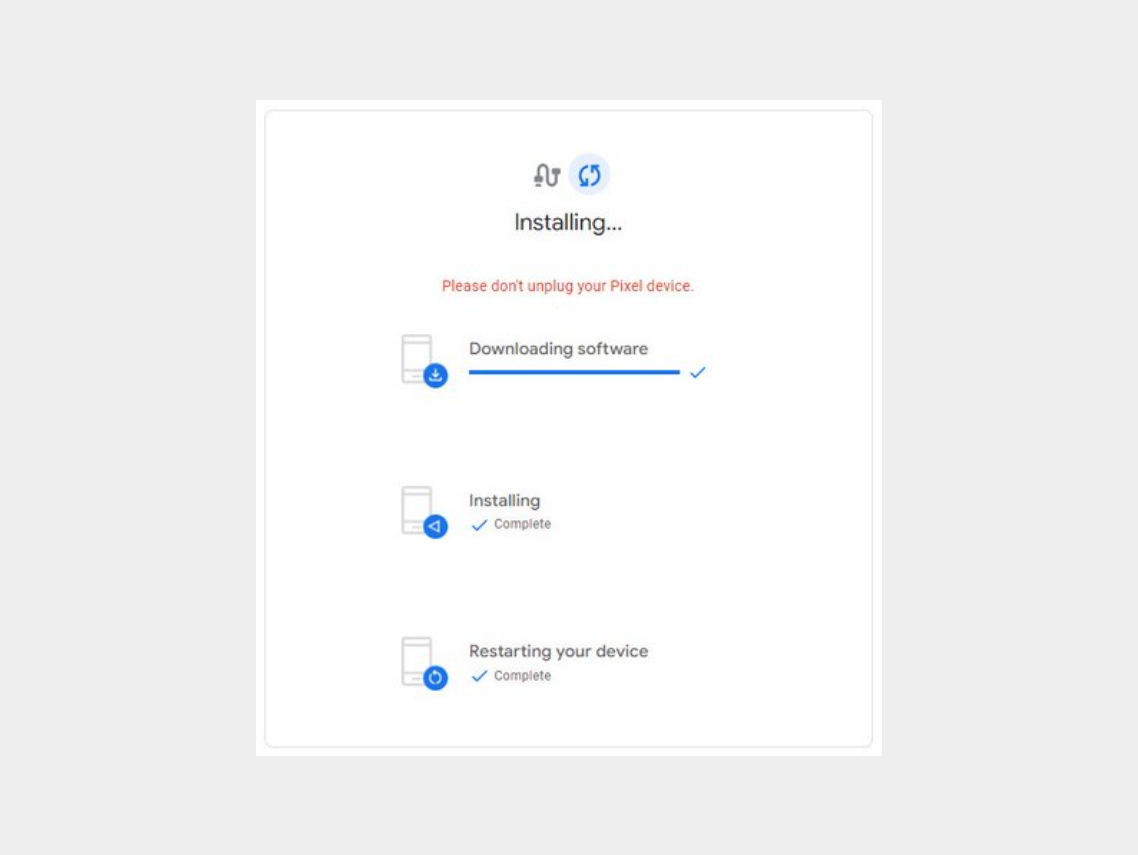
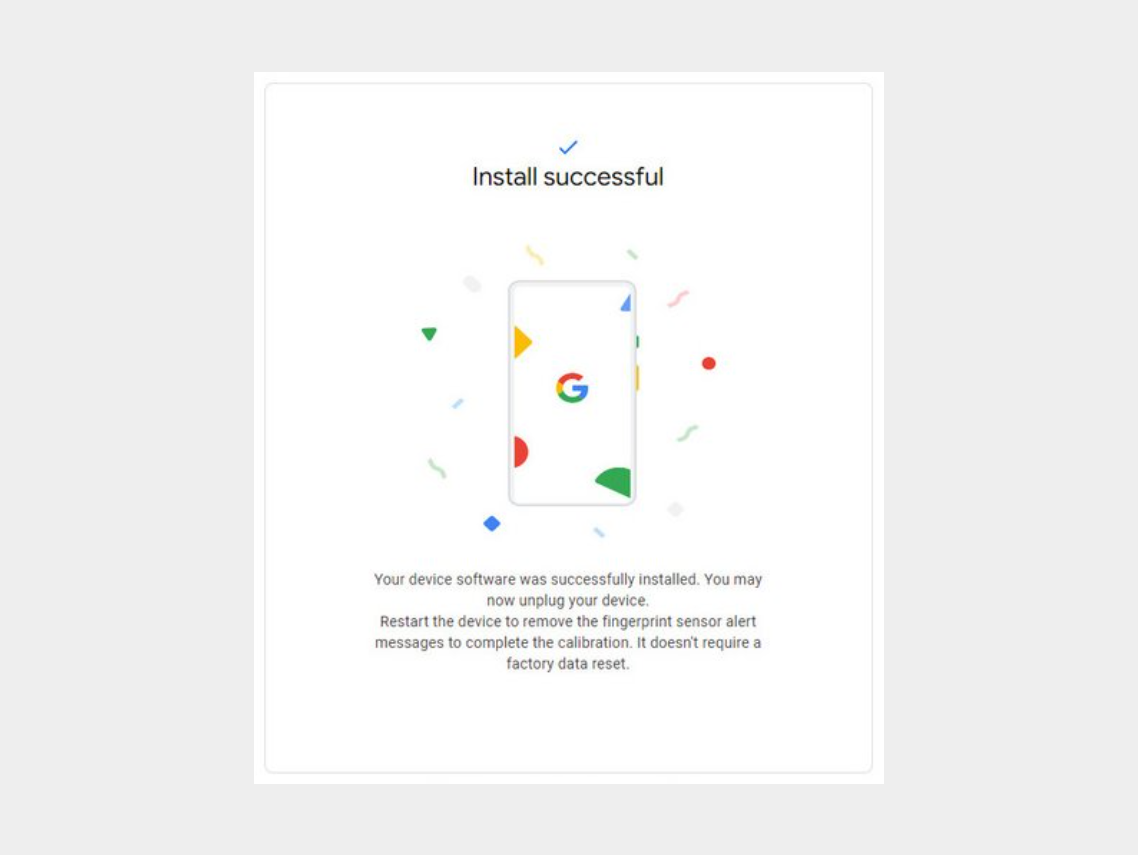
Step 7: Disconnect the phone from the computer and reboot it.
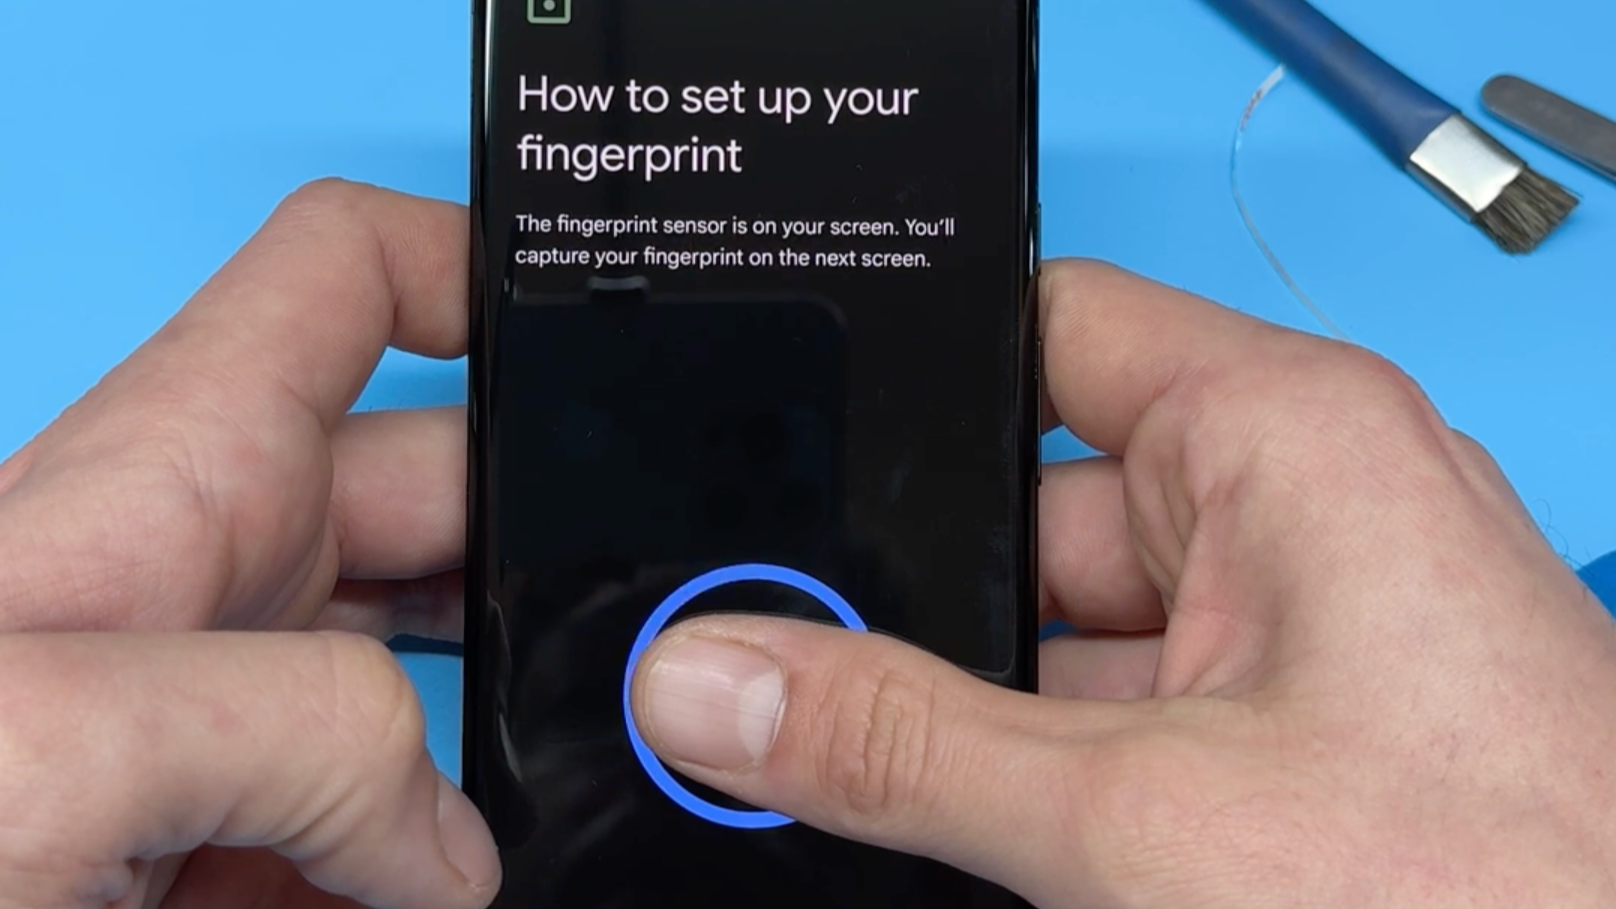
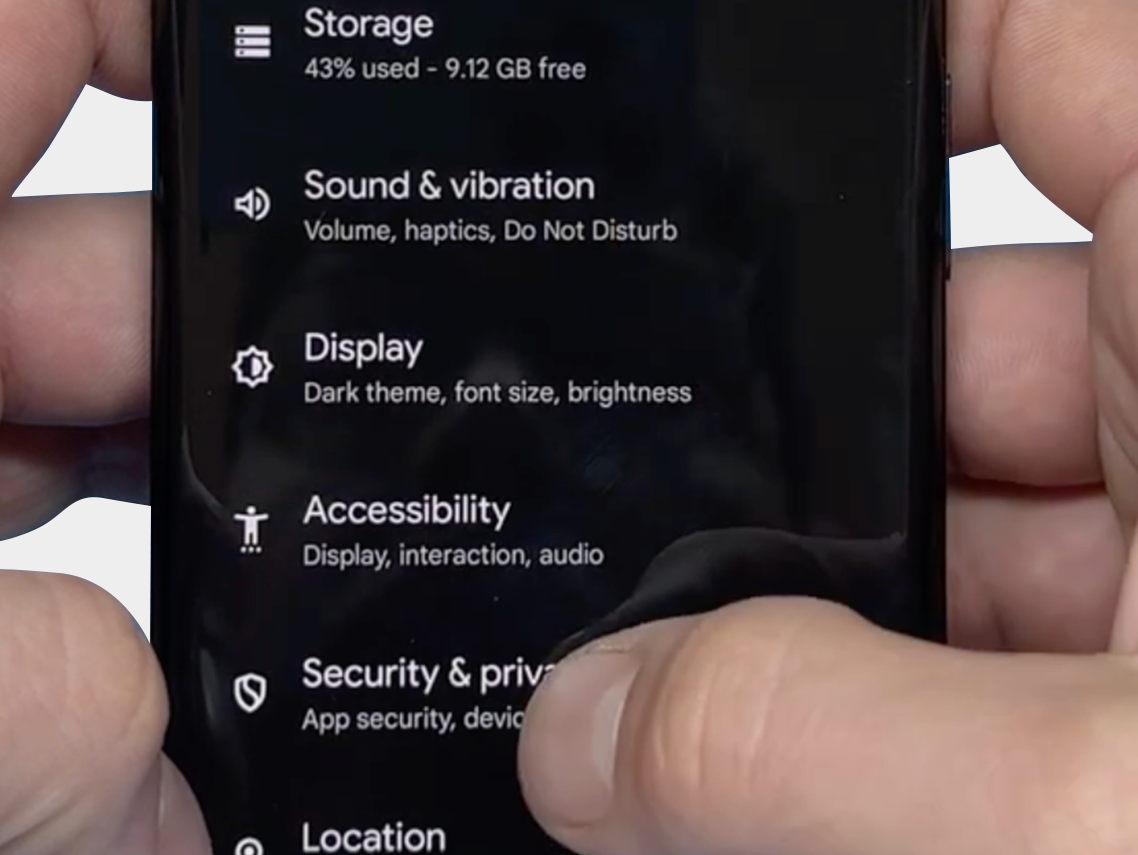
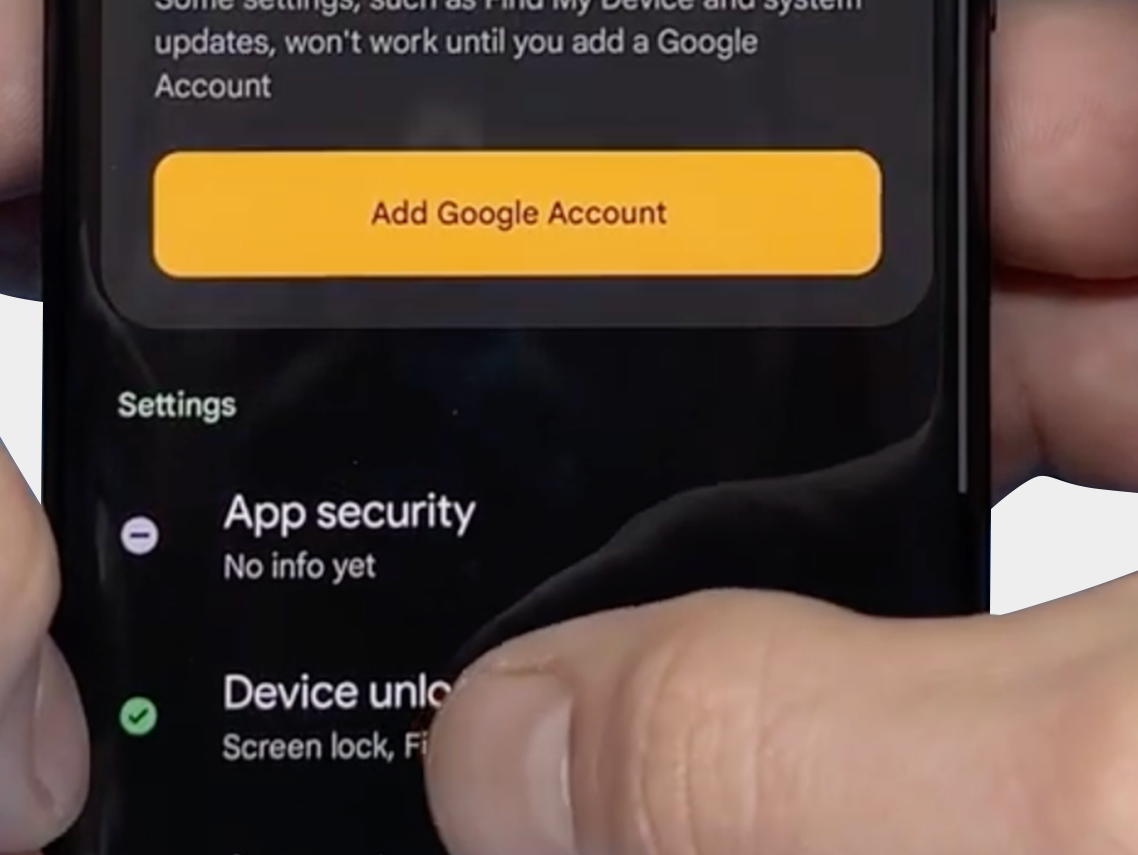
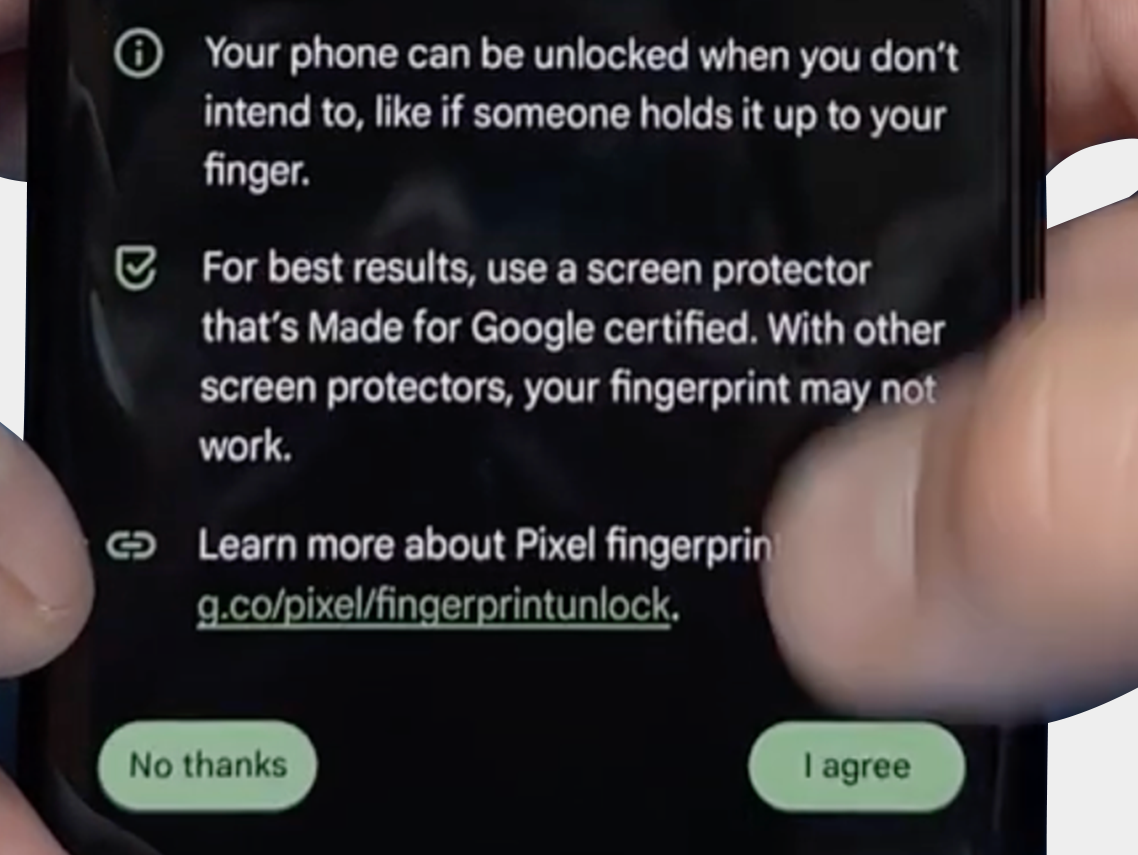
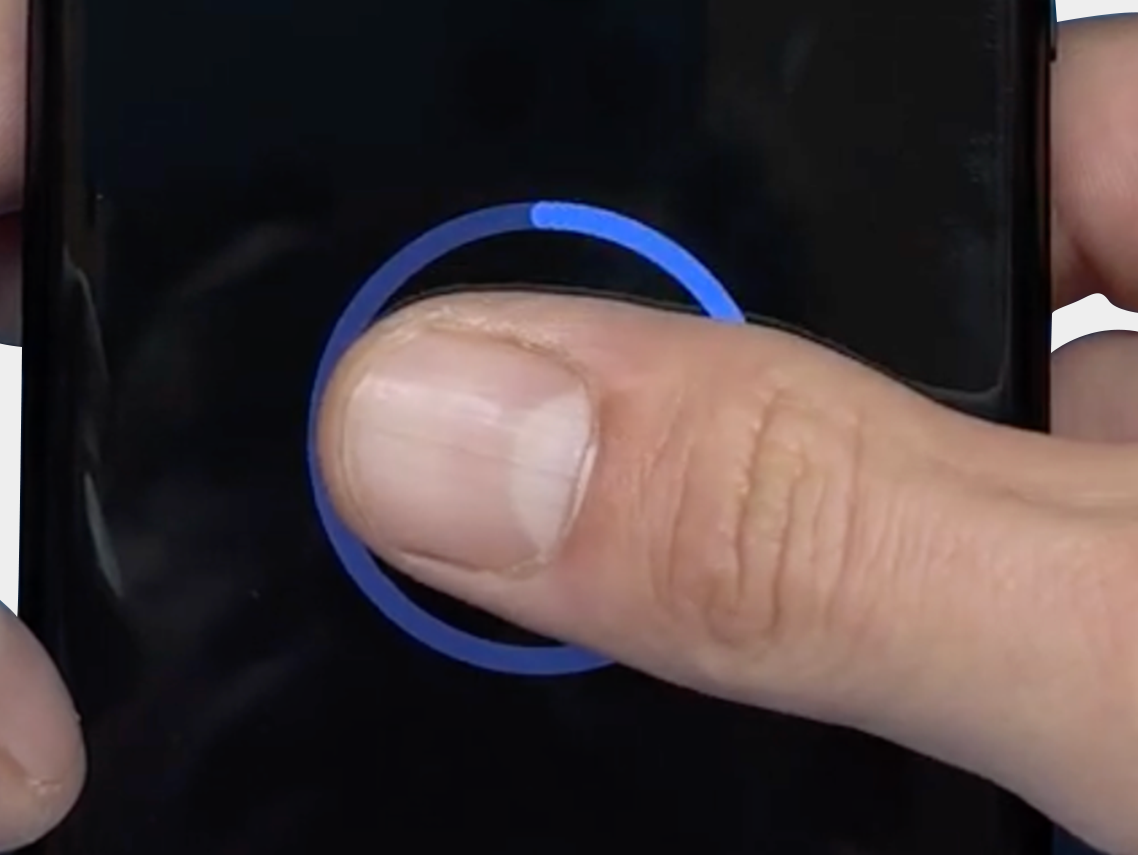
The final step: Verify that you can reset the fingerprint and that it now works via: "Security & Privacy" -> "Unlock Device" -> "FingerPrint Unlock" -> "Agree Terms"
We hope the above tips and information have helped resolve the problem. However, should you still need assistance or have any questions, please do not hesitate to contact us. Our team is ready to further support you.