 DA
DA


Battery replacement: what to consider as a repair technician
18-06-2024 • Læsetid: 5 min
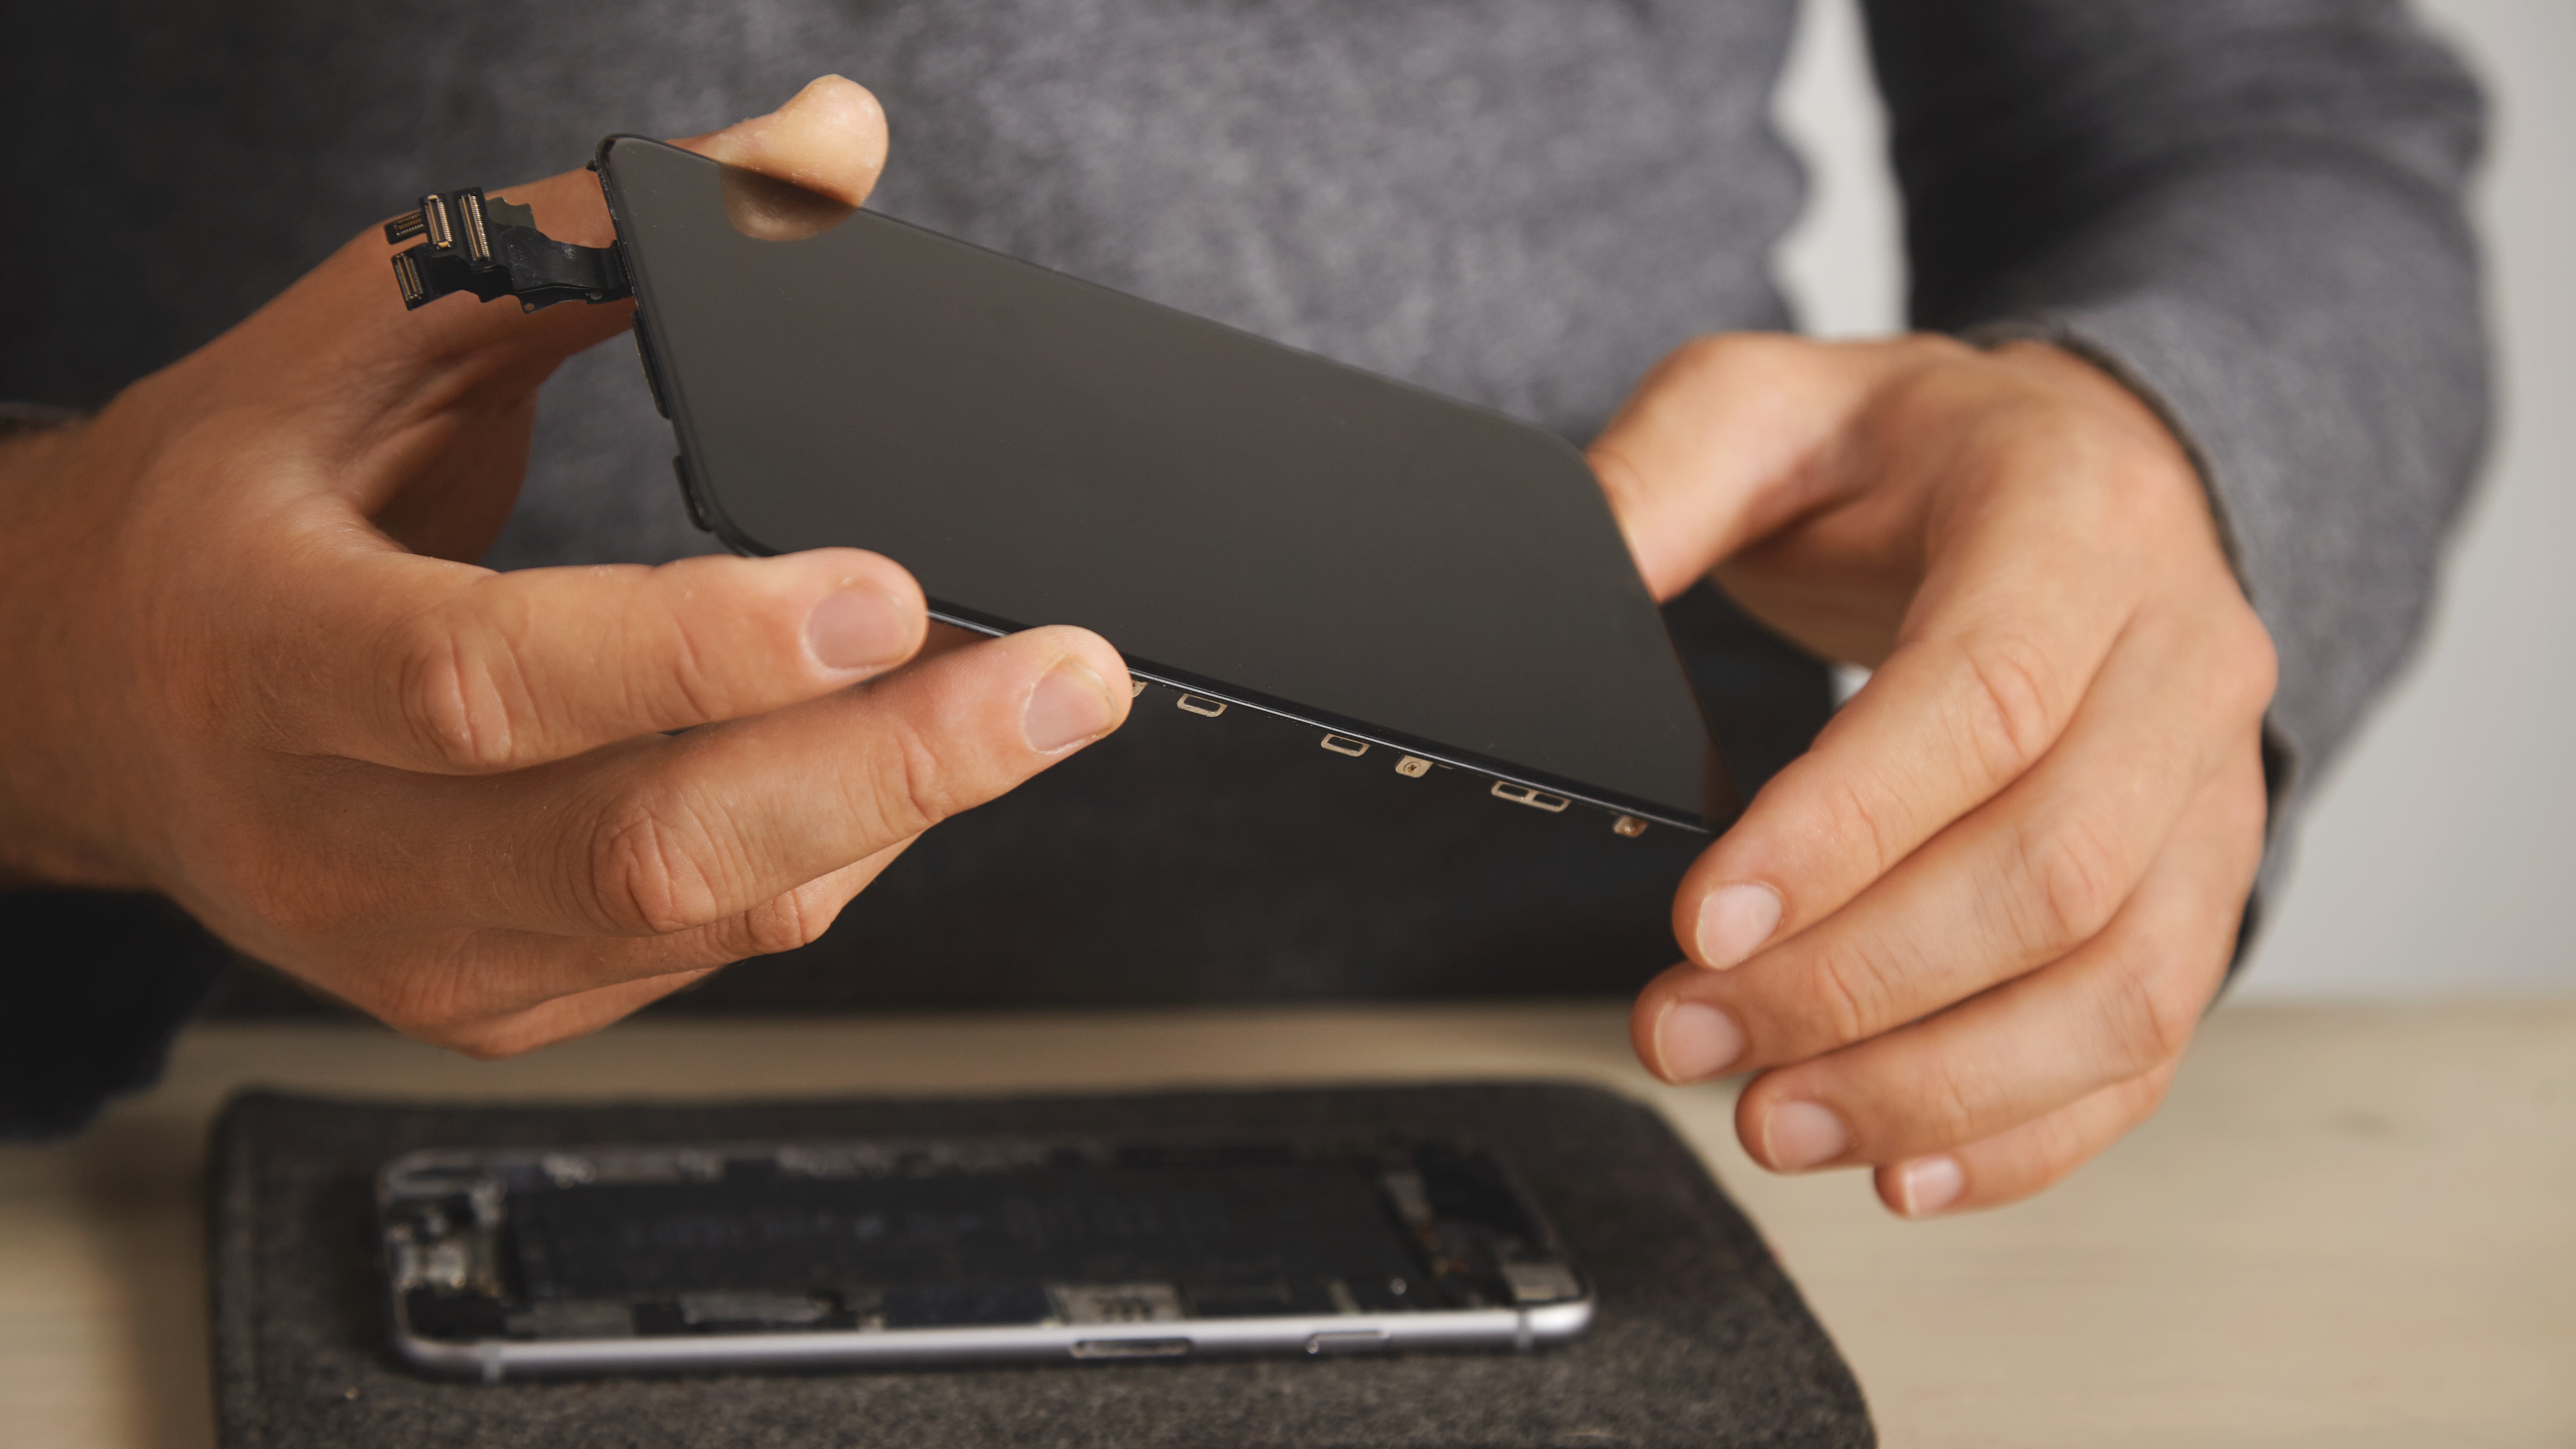
As a phone repair technician, you often come into contact with replacing defective batteries. There are important details that can be overlooked when performing a battery replacement correctly. Therefore, it is very important to perform this procedure correctly. In this blog, we explain step-by-step how best to approach a battery replacement.
The importance of replacing a battery the right way
Replacing a phone battery the wrong way can lead to several problems. First, it can cause damage to the phone, such as to its internal components, motherboard, connectors, or screen. Battery performance may also decrease due to insufficient contact. In addition, there are safety risks, such as overheating, expansion, or even explosion of the battery.
Make sure you have the right tools and battery
Replacing a battery in a cell phone requires specific tools to ensure the process goes smoothly to avoid damage. Here is an overview of the main tools you will need:
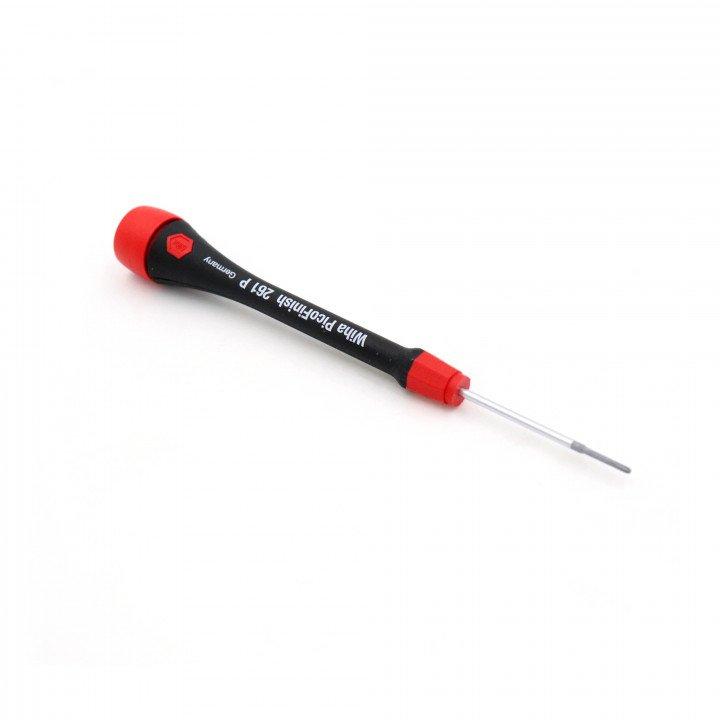
Screwdriver
Wiha PicoFinish 261 P PH000X40 Phillips ultra fine point
Especially for small screws such as in phones.
Wiha PicoFinish 266 P 1PLX40 Pentalobe iPhone bottom screws
Designed for the specific screws used in iPhones.
Extra handy for certain Android phones such as the Galaxy S and Galaxy Note models.
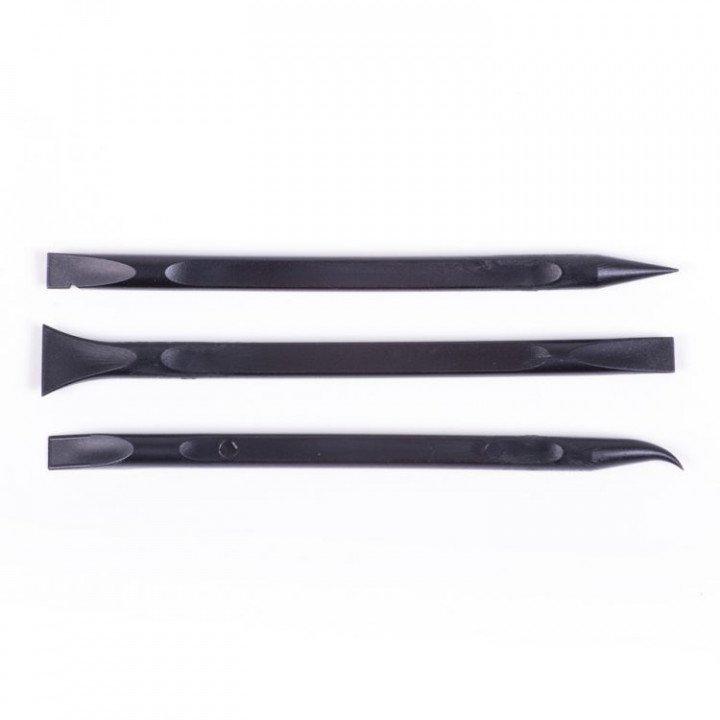
Opening tool
3-Pieces ESD Spudger Battery replacement set
Contains three different spudgers, allowing you to safely and easily change batteries without damaging the device.
Made of durable material and features an ergonomic design for a comfortable grip.
This tool allows you to easily and securely open smartphones and tablets.
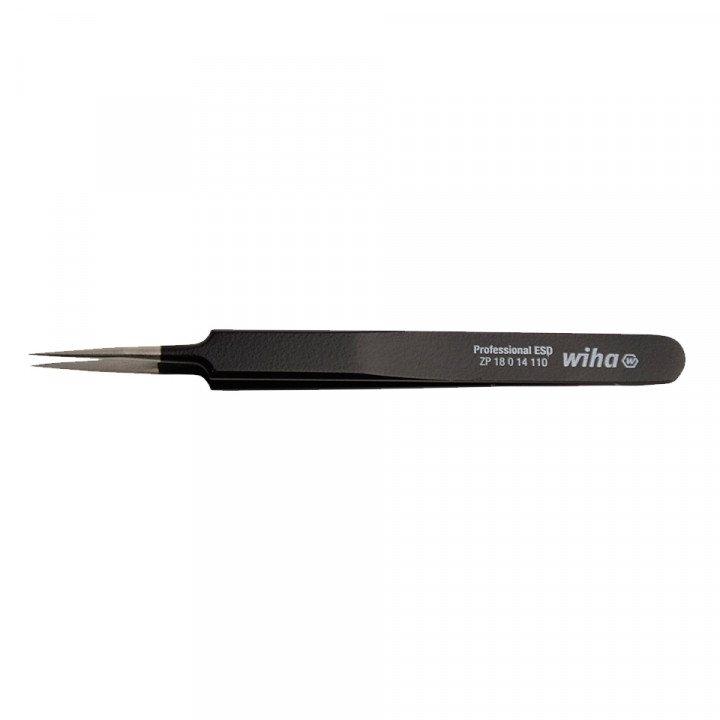
Tweezer
Wiha ZP18014110 Precision Tweezer Professional ESD
Perfect for handling small parts during repairs. With its anti-static properties, it ensures that you won't damage sensitive electronic components.
Precision Tweezer (Microsoldering) A-01 Pro
Specially designed for microsoldering and allows you to handle the smallest parts with extreme precision.
Wiha ZP20114120 Precision Tweezer Professional ESD
Ergonomic design giving you a comfortable grip.

Simkaart Eject Tool
Easily remove the SIM card tray without damaging the device.

Anti-static Mat and Wristband
Premium ESD rubber table mat with 4x10mm studs 600mm x 610mm Blue
For a safe and anti-static workplace, with a stylish touch.
Premium High Comfort Wrist-Strap Anti-Allergy 10mm stud
Specially designed to maximize wearer comfort so you can work for hours without discomfort.

Microfiber cloth
Specially designed to clean sensitive surfaces without leaving scratches or streaks. Microfiber technology provides deep cleaning, removes dust, fingerprints and dirt with ease.
When you have all the necessary tools at your disposal, of course you also need a suitable battery. Check out the different batteries we have in our assortment here.
Step-by-step battery replacement plan
After you buy the right tools and a suitable battery for the repair, it is important to follow the right steps. Below we have written out a roadmap for you:
Step 1: Turn off the phone
Before starting battery replacement, it is very important to turn off the phone and use the anti-static mat and wrist strap to avoid electrical accidents.
Step 2: Open the back of the housing and remove the center frame
Carefully remove the screws securing the back of the phone with an appropriate screwdriver to open the case. Then remove the center frame to gain access to the battery. If the back cover is firmly attached to the frame with glue and does not come off easily, you can heat it up to ease the process
Step 3: Remove the old battery
Use a small amount of alcohol and heat the battery to make it easier to remove it with an opening tool. Be careful not to cause any damage. Next, clean the battery compartment with a microfiber cloth. This exact process may vary by phone model, but with most models, these are the correct steps.
Step 4: Insert the new battery
Insert the new battery into the battery compartment and reconnect it to the motherboard.
Step 5: Close the housing
Carefully close the housing and secure it with the screws you removed earlier.
Step 6: Battery check
Turn on the phone and check that the battery is functioning properly.
By following these steps and tips, you can professionally replace your phone battery.
Conclusion
When performing the repair, it is important to have the right tools on hand so that the process goes off without a hitch. Make sure you have an anti-static mat and wrist strap to prevent electrical accidents. These tools help dissipate static electricity, which can prevent damage to the phone's delicate electronics.
It is also very important to follow the step-by-step plan carefully. By performing each step accurately, you minimize the risk of mistakes and increase your chances of a successful repair. This way, you can perform the repair with confidence, knowing that you have done everything possible to achieve a good result.
We hope this blog has given you more insight into performing a professional battery replacement repair. Keep following us for more interesting blogs!