 PL
PL


Quality Control at Foneday: How We Thoroughly Inspect Our Displays
18-06-2024 • Czas czytania: 3 min
At Foneday, quality is paramount. In our office in China, the Quality Team (QIT) works meticulously on the strict quality testing of products in our range. In this blog, we take you through the process and show you exactly how this is done.
The QIT Team
Foneday's QIT team consists of two teams: the Quality Improvement Team in the Netherlands and the Quality Inspection Team in China. These teams work closely together and reinforce each other to select the best products. Below we explain exactly what these teams do:
Quality Improvement Team, works strategically and focuses on gaining knowledge and research skills to support the Quality Inspection Team in performing quality control activities. They establish standards and requirements and investigate opportunities to improve quality. The team consists of technical specialists, experts and engineers from the repair industry.
Quality Inspection Team, thoroughly test the products several times to ensure quality. This process allows us to achieve the highest quality standards and select the best suppliers. The team consists of technical specialists, experts and engineers who conduct operational research from the office in China, Shenzen.
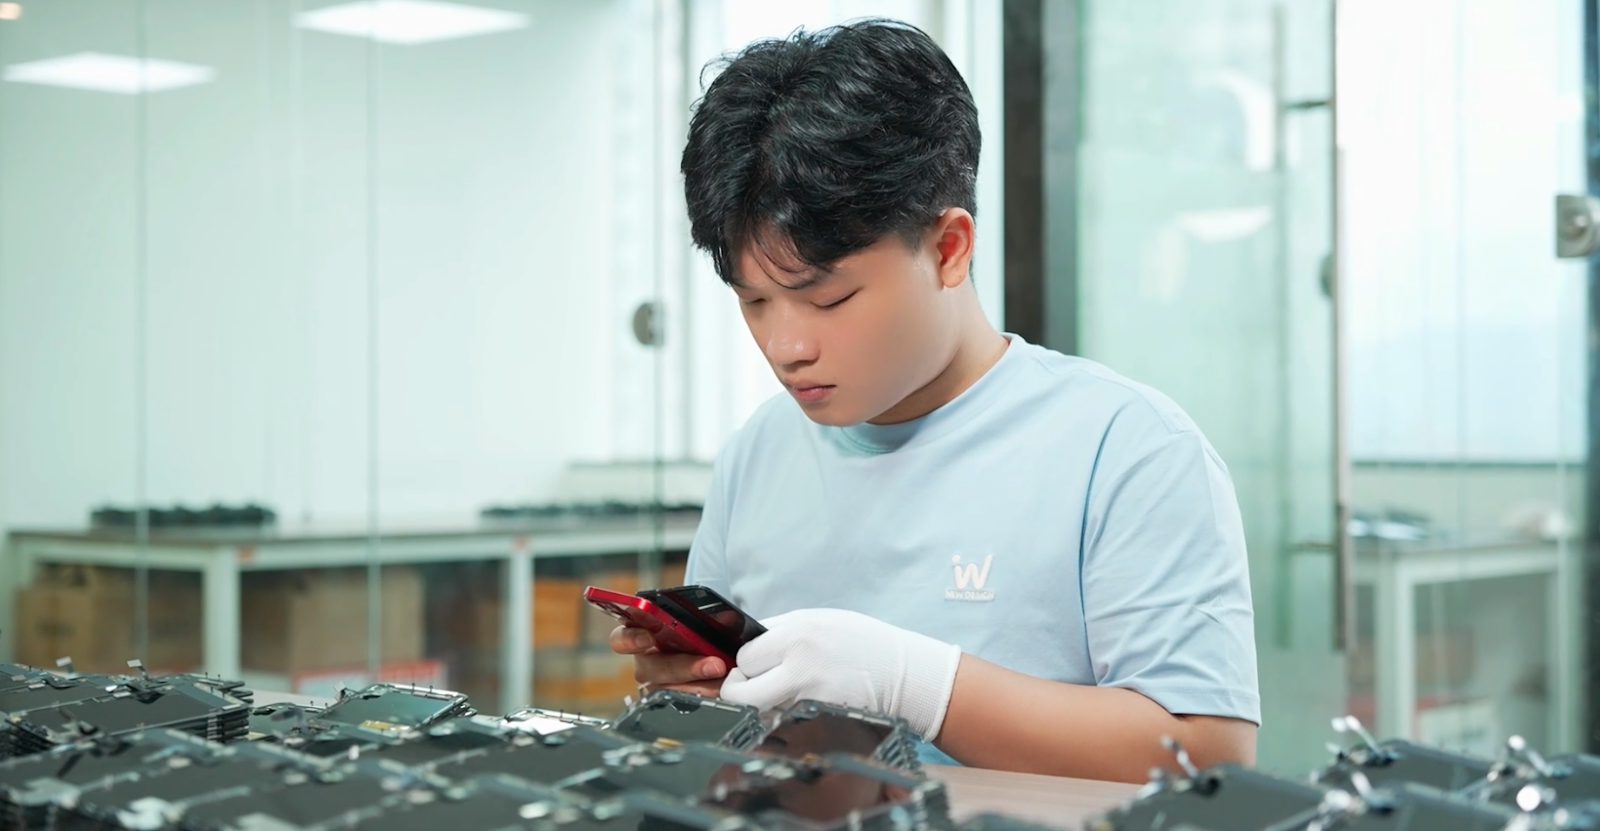
Display control
Checking displays are given by the Quality improvement team and performed by the Quality Inspection team. To make the Quality Inspection Team's process as smooth as possible, they follow a step-by-step plan. This is as follows:
Step 1: Firmness
Controlled pressure is applied to various points of the display to assess how well it resists pressure and bending.
Step 2: Color control
The display is visually checked for unwanted tints, color transitions and color deviations.
Step 3: Checking for fabric stains
The display is thoroughly inspected for the presence of dust stains, dirt or other impurities.
Step 4: Checking for dead pixels
The display is thoroughly checked for dead or defective pixels.
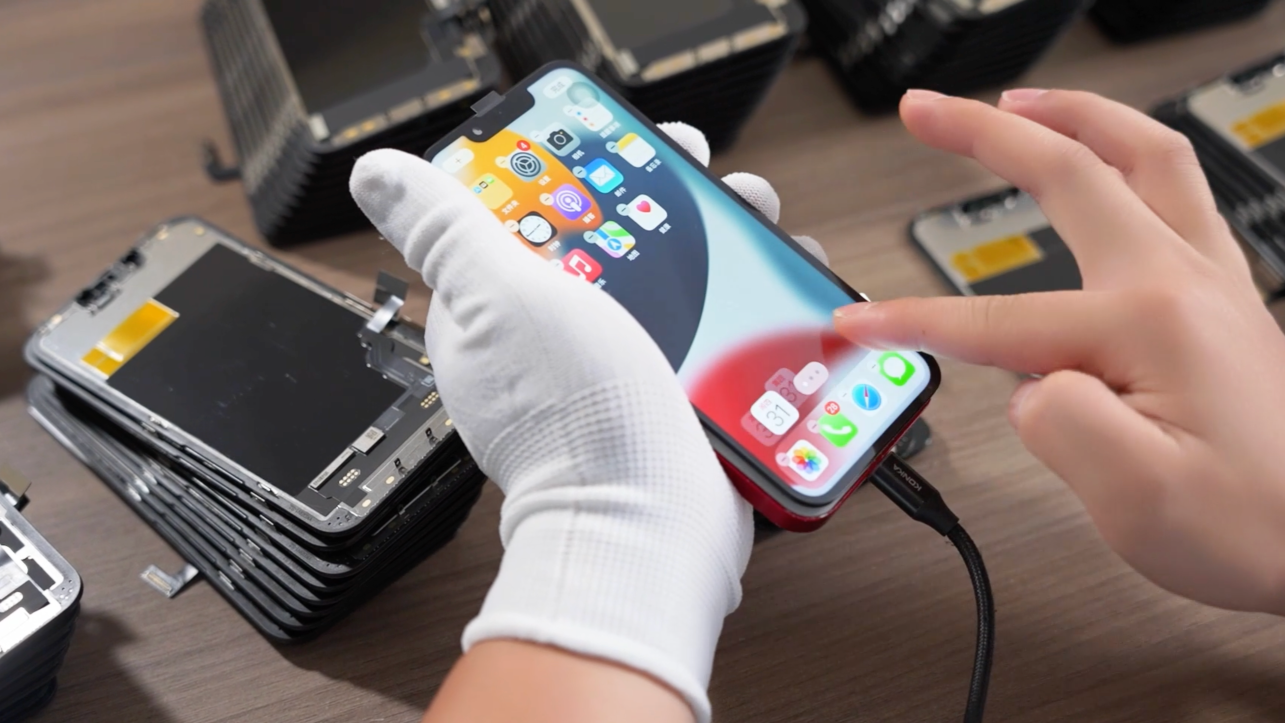
Step 5: Touchscreen test
The touchscreen is tested on multiple touches at once to see if the display can register it and process it properly. It is also tested for sensitivity by trying light touches and for speed and responsiveness.
Step 6: Placement FDX Sticker
A tweezer is used to carefully place the FDX Sticker in the left corner of the display bracket.
Step 7: Date and company printing
A stamp prints the date of the day and the company name.
Step 8: Camera placement
The camera sensor bracket is cleaned and cleared of dust, dirt and grease to ensure proper adhesion of the adhesive. Adhesive is applied to the camera sensor bracket via a tweezer and carefully placed in the correct position.
Step 9: Reinforce camera sensor bracket
Putting the camera sensor bracket under the UV lamp makes it stronger.
Step 10: Replacement screen protector
The original screen protector is removed from the display, the display is cleaned with a soft microfiber cloth to remove dust, dirt and fingerprints. The new screen protector is placed with the model name on it.
Step 11: Check display cable
The cable is visually inspected for signs of breakage, cracking, bending or other physical damage. In addition, the cable is carefully tested by bending and twisting the cable. In this way, a loss of connectivity or a break in the conductors can be detected.
Step 12: Camera position check
It checks that the camera sensor bracket is in the correct position.
Step 13: Cleaning display
The display is given another good cleaning with a microfiber cloth.
Step 14: Final check
A final check is performed to make sure everything is working properly.
Step 15: Product is packaged
The product is carefully put into the package.
Watch the entire video with explanation here
We hope this blog has given you more insights. Keep an eye on our socials for more interesting news!