BG
BG


iPhone 5G Antenna Replacement: Step-by-Step Guide
25-02-2025 • Време за четене: 3 min
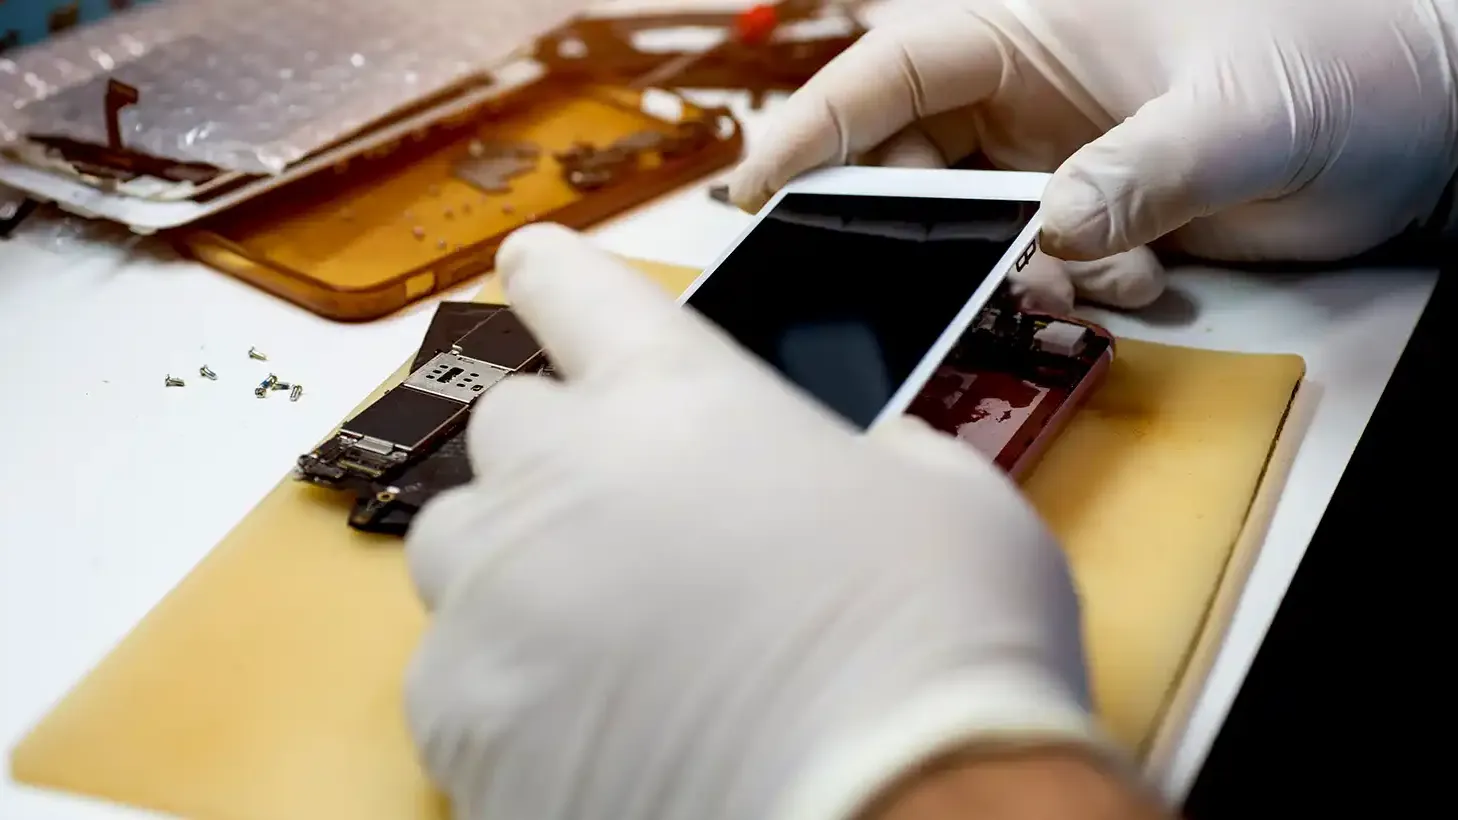
In the world of mobile repairs, we frequently encounter iPhones with a damaged 5G antenna. For technicians, it's important to repair this damage accurately and efficiently. In this blog, we share a step-by-step guide for safely replacing the 5G antenna, including the right tools and practical tips to prevent further damage. Continue reading this blog to go through these steps.
Requirements
- New Flex Cable for the 5G Antenna: To replace the damaged antenna.
- Soldering Station: For precise soldering connections.
- Flux: For better adhesion and conductivity during soldering.
- Tweezers: For carefully removing glue and foam residue.
- Feather Surgical Blade: For accurately cutting glue without damaging the solder pads.
- Kapton Tape: For carefully removing glue and foam residue.
- Heat gun: For controlled heating of glue and solder points.
Optional
- Isopropylalcohol: To loosen glue and foam residues from the motherboard.
- Multi meter: To test the soldering connections.
Step-by-Step Instructions

Step 1: Remove Glue and Foam Residue
Apply a small amount of isopropyl alcohol to the glue and foam residues around the antenna and flex cable. Use tweezers to carefully remove them. This will provide a clean surface for the new antenna to properly adhere to.

Step 2: Protect the Motherboard
Before you start soldering, protect the motherboard from heat. Wrap Kapton tape around the surrounding components. This will prevent overheating and potential damage to sensitive parts.

Step 3: Remove the Old Flex Cable
Use a Feather Surgical Blade to carefully cut through the glue around the damaged flex cable. Be sure not to damage the solder pads. Once the glue is removed, you can gently detach the old flex cable.

Step 4: Heat the Flex Cable
Use a heat gun on a low temperature (200-250°C) to soften the old glue residues. This will make it easier to remove the cable correctly and prepare the surface for the new flex cable.

Step 5: Solder the New Flex Cable
Apply a thin layer of flux to the solder pads. Position the new flex cable and solder it in place using a soldering station. Ensure the cable is properly aligned and the connections are secure. Do not overheat the solder connections to prevent damage.

Step 6: Test the Solder Connections
Check the connections with a multimeter in continuity mode. If the connection is correct, you will hear a beep or see confirmation on the screen.
Don’t have a multimeter? Visually inspect the solder joints to ensure they are smooth and shiny, with no solder bridges.

Step 7: Clean the Solder Connections
Use isopropyl alcohol and a cotton swab to remove the flux residue and any other contaminants. A clean solder joint prevents malfunctions and increases the longevity of the repair.

Step 8: Reattach Protective Stickers
Use tweezers to carefully reapply the original protective stickers and foam layer. This helps finish the repair neatly and ensures the phone looks intact.

Step 9: Test the 5G Antenna Functionality
Before fully reassembling the iPhone, test the 5G connection. Go to the network settings and check if the 5G connection is active and receiving a stable signal.
Conclusion
Replacing a damaged 5G antenna on an iPhone can be a challenging task, but with the right tools and a careful approach, the process can be carried out efficiently and successfully. By working meticulously, from removing old glue residues to carefully soldering the new flex cable, you can ensure that the 5G antenna functions optimally again. Don't forget to thoroughly test the solder connections and finish the repair cleanly, so your customer can enjoy a stable 5G connection once again. With this step-by-step guide, you are well-prepared to carry out this repair professionally and without causing further damage.
Stay up to date with the latest developments and updates by following our blogs and connecting with us on LinkedIn.